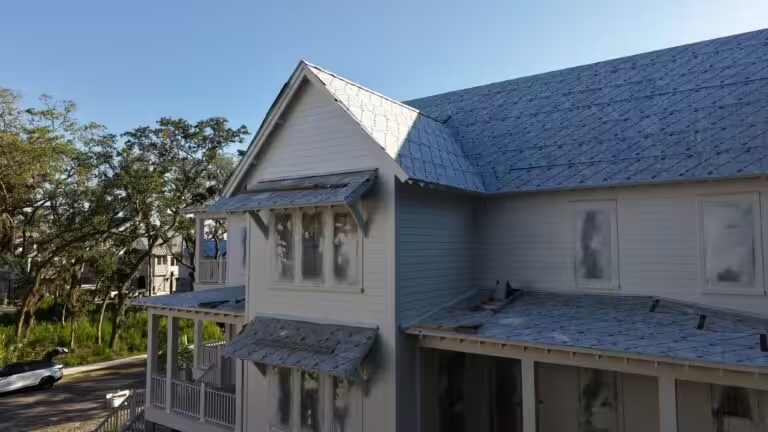
Rough Opening for Windows: How to Size It, Check It, and Avoid the Mistakes That Leak
Published on

A rough opening for windows is sized like a shipping crate, not a picture frame. The framed hole is built a little bigger than the window so the installer can level it, shim it and seal it. How much bigger is not a carpenter’s habit: it is the rough opening the manufacturer prints for that exact unit.
The answer Google shows at the top of this search uses half an inch over the window frame, a figure many charts repeat. Marvin, a window manufacturer, warns that the rough opening for the same 2-by-3-foot double-hung varies by manufacturer and style. Frame to the published number, then check the opening before the windows arrive.
Three numbers that get confused: call size, frame size and rough opening
Quotes and catalogs usually name a window by a nominal or “call” size. A “32×48” on an order is a name, not a dimension you can frame to. The frame size, sometimes called unit size, is the real outside dimension of the window. The rough opening is the framed hole that receives it.
Mixing them up is expensive. In one Fine Homebuilding forum case from 2023, a remodeler’s windows arrived exactly as wide as the 36-inch openings, with no room at the sides, because the store had ordered from the operating size. The fix on the table was planing the jack studs or reordering.
A worked check before the windows arrive
Here is a check you can run on each opening. The tolerances and methods come from window makers; the sizes are an example.
| Step | What to measure | Pass rule |
|---|---|---|
| 1. Width | Across the opening near the top, the middle and the bottom | Work from the smallest reading, rounded down to the nearest 1/8 inch (Andersen) |
| 2. Height | Left side, center and right side | Same: the smallest reading governs |
| 3. Square | Both diagonals, corner to corner | Within 1/8 inch of each other (Andersen) |
| 4. Plumb and level | All four sides of the opening | No rotated or parallelogram shape (Marvin) |
| 5. Wall depth | Stud depth plus sheathing | 2×6 studs at 5-1/2 inches plus 7/16-inch sheathing make a 5-15/16-inch wall |
| 6. Sill allowance | Planned sill wedge or sloped pan | Its thickness comes out of the opening height (Marvin) |
Example: the window’s published rough opening is 36 by 60 inches. You read 36-1/8, 36 and 36-1/16 across, so the working width is 36. The diagonals read 70 and 70-1/16, well inside 1/8 inch, so the opening is square.
A quarter-inch sloped pan at the sill would leave 59-3/4 inches of height for a window that needs room to shim. That is a conversation to have before the window is ordered, not after it is unloaded.
Mistake 1: framing to the size on the quote instead of the published rough opening
This is the mistake Marvin lists first, and it is the one in the forum case above. Get the rough opening for each window in writing from the supplier, line by line, before the walls are framed.
The code backs this up. In South Carolina, which builds under the 2021 International Residential Code with state amendments since January 1, 2023, windows and doors are installed to the fenestration manufacturer’s written instructions, and the manufacturer has to supply them for each unit (IRC R609.1).
Mistake 2: an opening that is out of square, plumb or level
Width and height alone can pass while the opening is still wrong. Marvin’s framing guide explains that a sill and header out of level, or jack studs out of plumb, can turn the opening into a rotated rectangle or a parallelogram. Then the choice is a smaller window or a bigger opening.
A wall that leans also matters. Marvin notes that a window following a wall that is pushed out at the bottom ends up leaning back, which exposes its face to more rain than it was designed for. Check the wall, not just the hole.
Mistake 3: a flat sill with nowhere for water to go
The sill of the rough opening should slope toward the outside, so any water that gets past the window is sent back out. Marvin describes three ways: cut the cripple studs at an angle, add a sill wedge, or install a sloped pan after framing.
Two details from the same guide are easy to miss. A 5-degree slope can push a 2×6 sill past the other framing, so rip about 1/8 to 3/16 inch off its length at the same angle. And a back dam at the inside edge of the sill keeps water from running into the wall.
Where the window maker gives no flashing details, the code fills the gap: pan flashing goes at the sill, sealed or sloped to drain water to the wall finish or the water-resistive barrier (IRC R703.4.1).
Mistake 4: flashing lapped the wrong way around the housewrap
Flashing works like shingles: each upper layer laps over the one below. The code says it plainly. Flashing is applied shingle-fashion to keep water out of the wall cavity, it extends to the surface of the wall finish, and window openings are flashed per the window or flashing maker’s instructions (IRC R703.4 and R703.4.1).
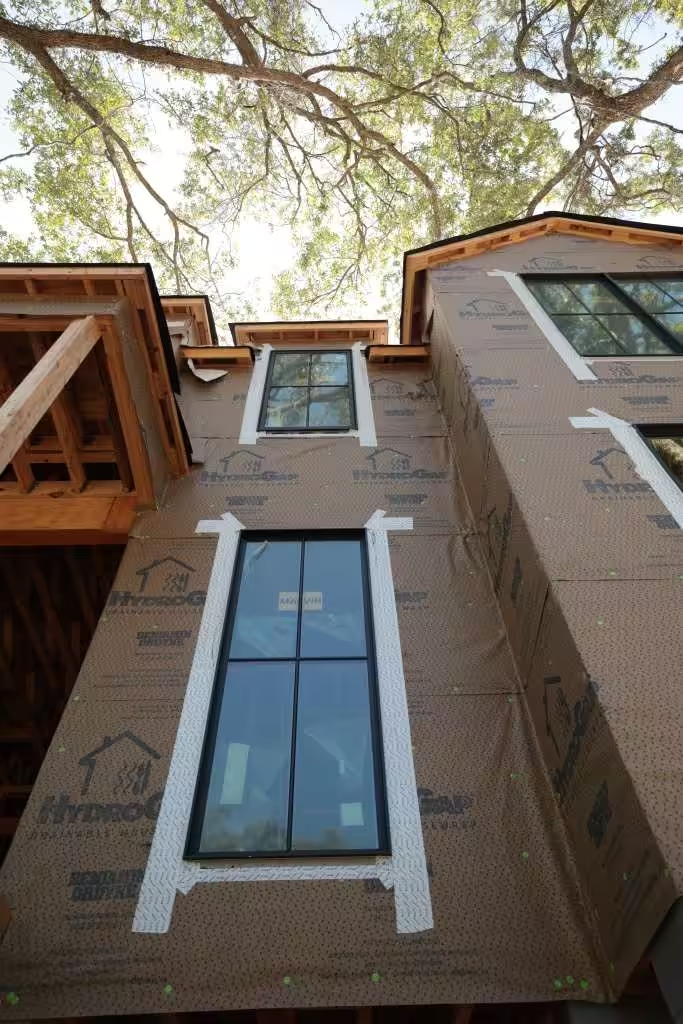
The photo above, from our project gallery, shows windows set in a HydroGap-wrapped wall with flashing tape at the sides and across the head. Marvin’s list adds the details that fail most often: head flashing built into the system rather than added later, fins sealed with tape rolled onto the frame, and clean, dry surfaces so tape sticks.
Inside, the code asks for air sealing on the interior side of the gap around the window (R703.4.1). Marvin cautions against filling the whole perimeter with expanding foam: it can trap water that should drain out and, with high-expansion foam, bow the jambs.
Mistake 5: fixing a bad opening at the header instead of the sill
When an opening is too small, Marvin’s advice is to take material from the sill, not the header. If a jack stud has to be trimmed, cut the bottom of one rather than the top of the other, so the wood under the header stays.
Heavy trimming calls for a sistered stud and hardware, and a check with an engineer or building official.
When an opening is too big, add filler. Marvin uses a 1/2-inch plywood strip to shrink an opening by 1/2 inch, a 1x board for 3/4 inch, and two plywood strips for 1 inch. Past 3 inches, frame it in and add sheathing.
Fillers run flush with the outside of the sheathing, set in exterior sealant. On a 2×6 wall with 7/16-inch sheathing that means a strip 5-15/16 inches deep. Install the top and bottom fillers first and wedge the side ones between them.
Cutting a new window into an existing wall is a structural change. Header size and the number of jack studs come from the span tables in IRC R602.7 or from an engineer, and the work goes through the building department.
What the openings look like on a Kiawah River framing job
On the three-level coastal home on the Kiawah River in our project gallery, the openings were framed, sheathed and wrapped in HydroGap before any window arrived. Each opening shows its header above and its sill framing below, ready to be measured against the window schedule.

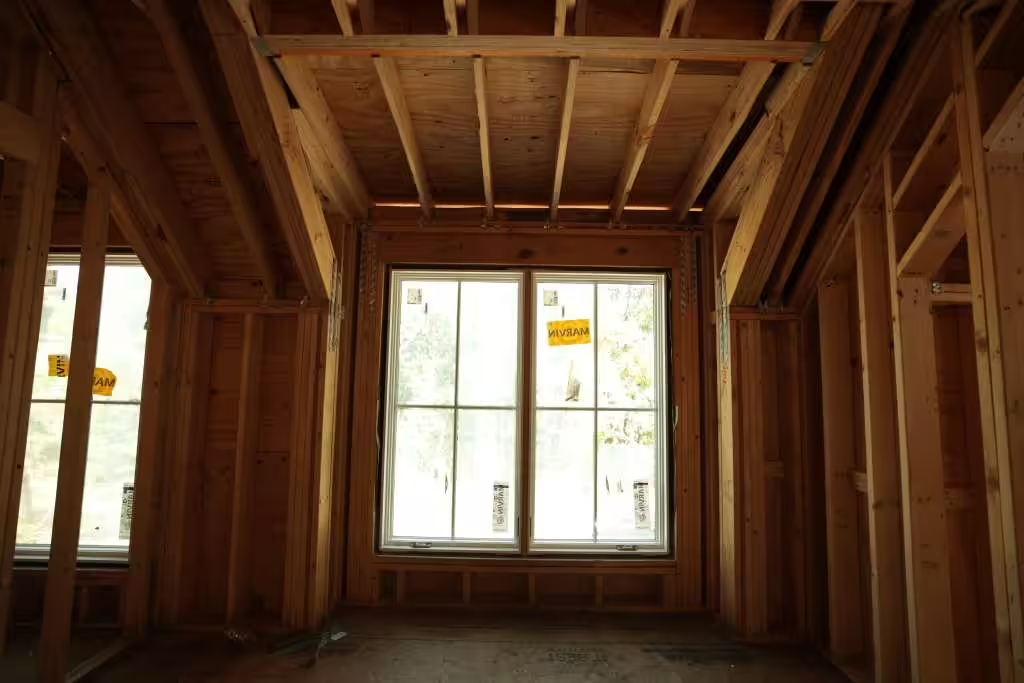
From the inside of another job in our gallery, a set window sits between its jack studs under a header, with the wall framing still open around it.
Why the framer and the window installer should be the same conversation
Marvin’s framing guide ends on coordination: the window installer should agree with the framers on what a good opening looks like, and with the siding and trim crews on flashing and clearances. When those are three different companies, the rough opening is where their schedules collide.
CHS Built’s scope covers framing, siding, windows and doors, and the housewrap and flashing in between, and its published projects are elevated coastal homes on the sea islands. The window line of that scope reads rough openings set, flashed and made weather-tight.
If your windows are on order and the walls are about to go up, send CHS Built the window schedule with the manufacturer’s rough openings and ask for it to be checked against the framing plan before the first stud is cut.
Keep reading